I promised to post examples of things I have found and successfully transformed from thrifty finds. This is my first.
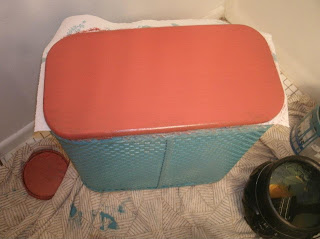
I found this hamper as seen in the first picture for $3 at a rummage sale.
I first sanded down the entire hamper to be sure to smooth down rough areas and remove extra paint.
I then wiped down the hamper so that I was working on a smooth, clean surface.
After doing the basics (changing into my paint clothes, laying down a paint-safe sheet), I painted two layers of paint onto the hamper.
Notice that I placed a paper towel between the differently-colored painted surfaces. I waited until the bottom was dry before painting the top.
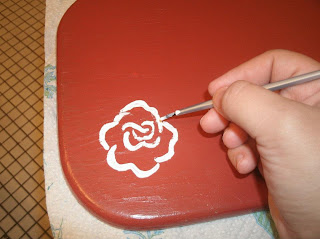
Once all my foundation had been painted, I sketched the design for the hamper detail.
As the last step, I adapted the sketch design onto the hamper.
Overlook final details and make any last-minute changes.
Enjoy your finished product!
Using extra paint I had around the house or had borrowed from people who had extra, this project cost me $3 total. For that price I got something not only fully functional for our growing family, but something completely unique as well!
Remember this project will take up to three days, as you want to allow the layers of paint to dry overnight. And don't worry about not being able to sketch well. Believe me, I'm no artist. you can use stencils if you aren't confident enough to freehand it. Or, a simple coat of paint may be all the upgrade you need. No matter what, just be sure to make it your own.
Happy thrifting!


No comments:
Post a Comment